Introduction to Photoshop Blending Options
Multithreaded JavaScript has been published with O'Reilly!The most usefull attribute in Photoshop (PS), in our opinion, is layers. Layers are a way to keep information in one part of the image segregated from another part of the image. Photoshop uses Blending Options to offer a non-destructive way to manipulate images. By non-destructive we mean you do not modify the original data and yet are able to make it appear visually different.
This tutorial will be making use of three fundamental Blending Options; Inner glow, Gradient, and Pattern overlay. Each of these do exactly as you would expect them to do.
First task, make a new image. For this tutorial we chose 120px X 40px for the resolution. If your new to Photoshop and it is still set to inches, cm's, or picas, you should set them to pixels (If you are reading this tutorial you are probably using PS for web design and pixels are way more useful than inches). This can be set in the Edit | Preferences | Units & Rulers.
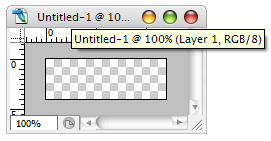
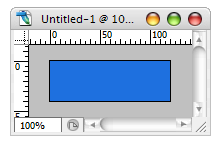
By default PS makes a new image with the first layer called background, and background's name is italicised meaning that you can't edit the Blending Options. You can make a layer above it by going to Layer | New | Layer. Select the paint bucket (G) and paint the layer a pretty color of your choice (I love blue).
For the diagnols part of the tutorial you will want to create a pattern of diagnols. Click File | New, and make a new image that is 4px X 4px. Don't worry about our other image, it will be safe. In this image, create a new layer (delete the background layer) and select the pencil tool (Shift B x 2). Click from the lower left to the upper right of the image with the color white selected. Your image should look like this:
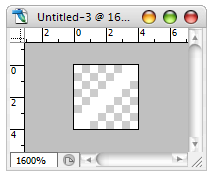
Select the entire layer (Ctrl + A), then go to Edit | Define Pattern. Give it a name and save the pattern. You can then close this small image we made without worry. Now, going back to the first image we can continue.
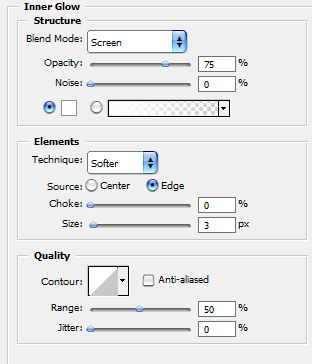
On the colored layer, right click on the name in the lower right corner of the screen and select Blending Options. This opens the screen of Blending Options for the selected layer. There are three that you will want to select and modify for this. The first one we want to modify is Inner Glow. You will want to click the box with a slight yellow color and change it to white, and change the size to 3px:
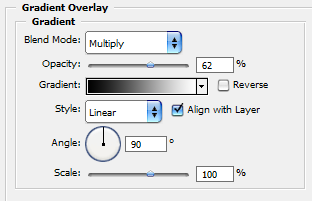
The next thing we will set is a Gradient. You will want to lower the opacity and set the blending mode to multiply (Think of it as only showing the darkness):
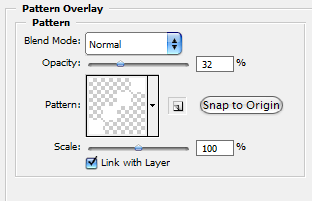
Finally we will add the diagnols from that pattern we had made earlier. Lower the opacity a fair amount to about a third visible. By default the pattern that is displayed is some weird bubbly purple pattern that is shipped with PS. Clicking the pattern image will allow you to select the diagnols we had made earlier:
Pressing the okay button will set all of these Blending Options to the layer and your image should look something like this, depending on how creative you got:
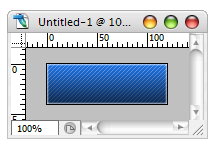
Add some text over top, play with some more Blending Options, add an image or two and you should have something usefull. Once you get the hang of Blending Options you will find yourself adding them to every project you use.
Thomas has contributed to dozens of enterprise Node.js services and has worked for a company dedicated to securing Node.js. He has spoken at several conferences on Node.js and JavaScript and is an O'Reilly published author.