Enabling English on a Japanese Panasonic Lumix GX1
Support this website by purchasing prints of my photographs! Check them out here.Like many digital cameras the 2012 Panasonic Lumix GX1 camera falls victim to the barbaric practice of region locking. With such a practice a device is intended to be sold and used only in a particular region of the world. In this case Panasonic locks down language choice and video framerate. To the best of my knowledge there are two regions for the Panasonic GX1: Japan and everywhere else. A Japanese region camera only offers the Japanese language, otherwise the camera is multilingual and supports many languages including English and Japanese.
The effects of region locking are that, as of 2024, there are tons of Japanese GX1 cameras on eBay for about $150 USD, and there are tons of multilingual cameras available on MPB.com for about $270 USD. For whatever reason there aren't many multilingual versions on eBay and, perhaps as expected, there aren't Japanese versions on MPB.com.
Anyway, it doesn't make sense to pay more money for a multilingual camera that is over a decade old when you can instead buy a Japanese model and modify the firmware to support the English language. The hardware is identical after all. Firmware is a name for the software that runs on hardware devices. Note that this is not only 100% legal but also an ethical rebuke to region locking, especially when the device is discontinued.
Prerequisites
To follow along with this guide you will need a few things.
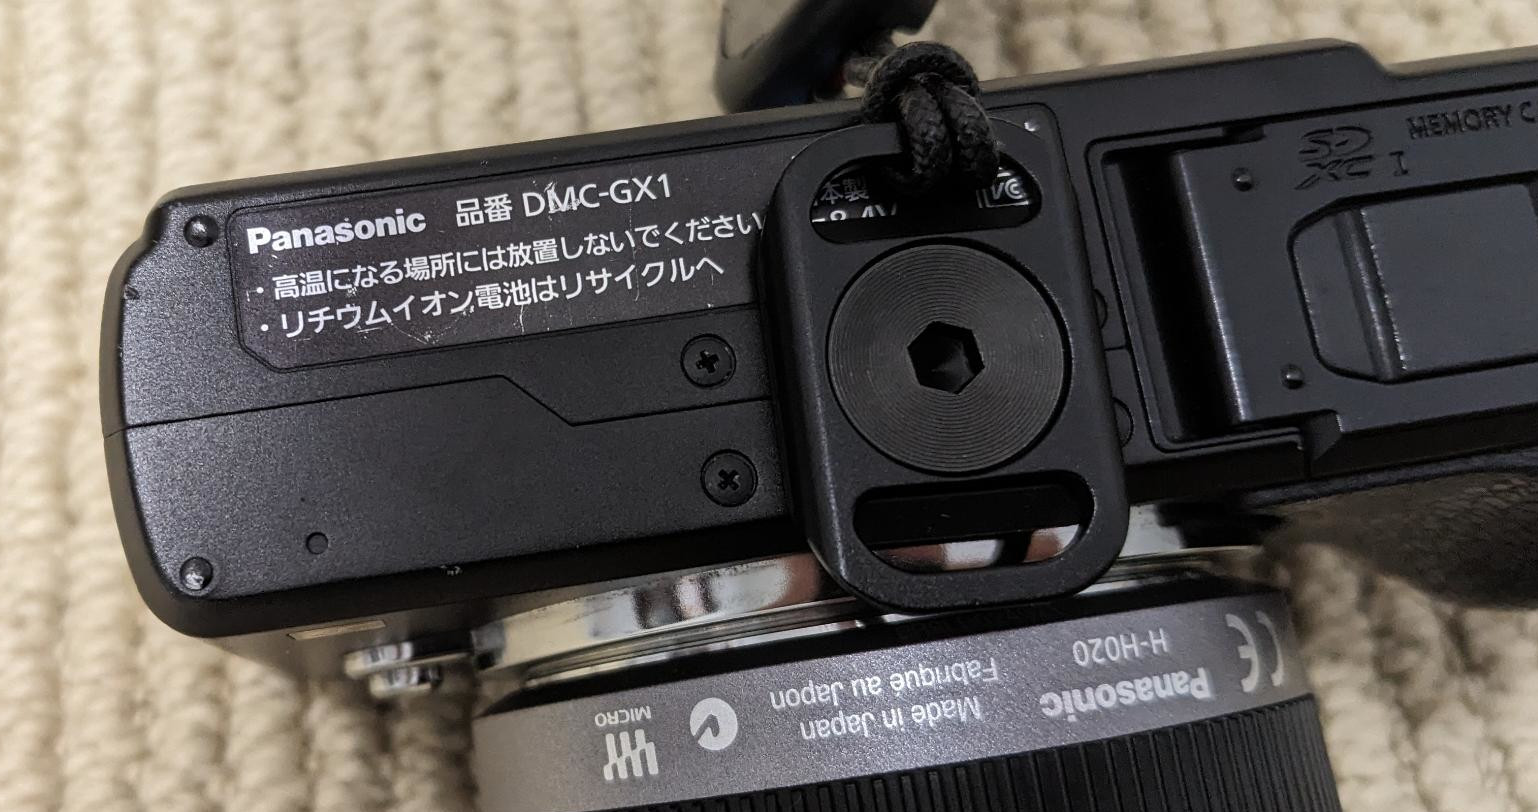
Obviously, you'll need a Japanese Panasonic GX1. Of course, the menus will be in Japanese, but technically a multilingual GX1 can be set to Japanese. From what I can tell the only way to identify a Japanese GX1 from the outside is that the product sticker is in Japanese:
Not so obvious is that you'll need a fully charged, first-party Panasonic battery. The upgrade won't work if you use a wall adapter. It won't work if the battery is low either, you'll get an error that looks like this:

You'll also need a computer. It's simpler if you have a Windows computer but I used a computer with Linux and it will also work with an Apple computer. The tool that modifies the camera's firmware is a Windows program but it can be coerced to run on Apple and Linux.
Finally, you'll need an SD card. Any size will do. Stick it into the camera and let the camera format it first. You'll get a prompt to format when you turn on the camera. By default the cancel option is highlighted so use the arrow keys to select the other option then press the center OK button and the camera will format the card to the FAT32 filesystem and create some directories.
Once that's done you'll need to switch to the computer.
Use Windows or Install Wine
The first step therefor is to enable running Windows programs:
- Windows: Nothing to do here
- macOS: Follow along with How to get started with Wine 8.0 on your Mac
- Linux: Use your package manager to install Wine, e.g.
sudo apt install wine
Download PTool
Now that you're able to run Windows software you'll want to download a program called PTool. This program was built to modify firmware files used by old Panasonic digital cameras. The tool can be downloaded here:
Download the ptool3d.zip file and extract it to your computer somewhere. The zip file is half a megabyte large and contains a single file, ptool3.exe, which is a Windows program and is 3MB. You don't need to "install" the program, it will launch from wherever you extract it.
Download Camera Firmware
Next, you'll need to download the latest firmware file for the Panasonic Lumix GX1. This is a 15MB file and contains the programming and language text to tell the camera what to do. Since the camera is so old the latest version of the firmware will forever be version 1.1. On the firmware download page, download the "For Mac" version, since it'll be easier to use than the "For Windows" version (even if you are using a Windows computer):
This downloads a 15MB zip file named GX1__V11.zip. Extract the zip file and you'll have a 15MB GX1__V11.bin firmware file. The name of the file is important so don't rename it. Note that it contains two underscores. This is the original firmware that you'll use as a basis for making a new firmware. It's also the firmware you might want to install if you ever want to return things to factory settings.
Run PTool and Modify Firmware
You should now have some files somewhere on your computer:
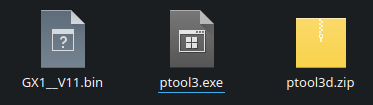
GX1__V11.zip and ptool3.exe
Now that you have all the files you need you're ready to modify the firmware. You should be able to simply double click the ptool3.exe program to launch it directly on Windows or even to launch it using Wine on macOS / Linux. If that doesn't work, try launching the Wine application directly and then opening the ptool3.exe file. Once you do that you'll see the PTool window.
Click the blue "Load Firmware" button, then select the GX1__V11.bin file and open it. The window will now contain some settings. I've expanded a setting but otherwise your window will look similar to this:
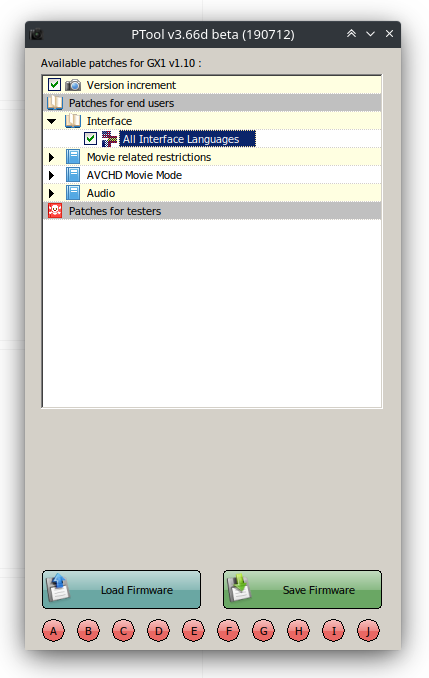
The UI is based on older Windows conventions and is a little hard to understand. Basically, the entries in the top area of the window represent a tree structure. Some items that you click on will display more information on the bottom that you can then edit. For other items you'll need to double click them to expand and see child options.
The first thing you'll need to do is increment the version number. Single click "Version increment", then below the "Enter increment" field, click the 1 and change it to a 2. This is required to get the camera to read the modified firmware file.
Next, you'll want to enable multilingual support. Double click "Patches for end users", then double click "Interface", then click the checkbox next to "All Interface Languages".
At this point you're technically done with the changes. However, if you're adventurous, there are additional restrictions that you can modify, and values that you can tweak regarding video encoding. Clicking through the interface will give you suggested values. It's totally up to you but if all you care about is enabling multilingual support then you don't need to change anything else. I'd recommend avoiding the "Patches for testers" section.
Be careful when changing video settings. A lot of them will result in better quality videos but that will crash the camera in playback mode. When a crash like this happens you'll need to pull the battery to reboot.
Once you've made your desired changes click the green "Save Firmware" button. Save the file to the root of your SD Card. The file needs to be named something like GX1__V12.bin for it to work. Anything else and the camera won't read it. In fact, PTool will warn you if the file name isn't formed right. Again, if you're renaming the file later, don't forget that it has two underscore characters.
If it were up to me I would simply upload the firmware file that I edited to this website for you to download. Doing so could get me a letter from a Panasonic lawyer.
Install the Modified Firmware
At this point your SD card is formatted for the camera and contains the updated firmware file in the root folder. Insert the card into your fully charged camera and turn it on. Then click the green playback button on the back of the camera. This will cause the camera to read the SD card to look for files to display. It also tells the camera to look for any correctly-named firmware files.
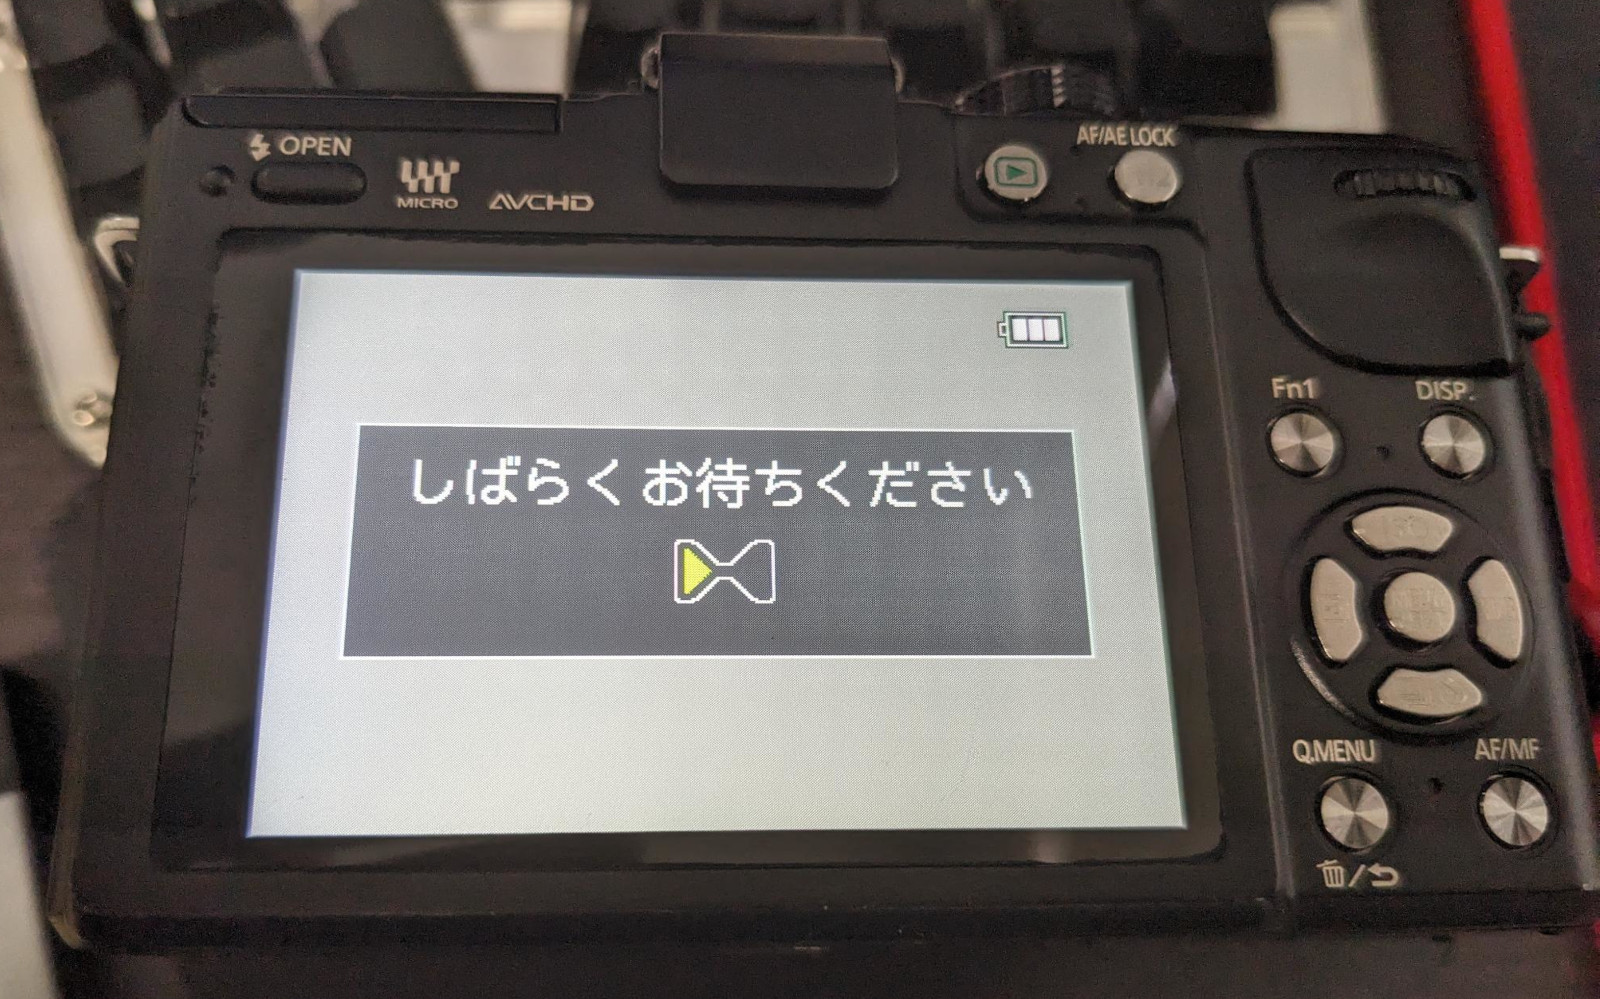
This message tells you that the firmware file is being examined:
At this point you might get the error pop-up mentioned earlier on this page if the battery isn't charged. In that case go charge it.
If everything goes to plan you'll see this upgrade prompt:
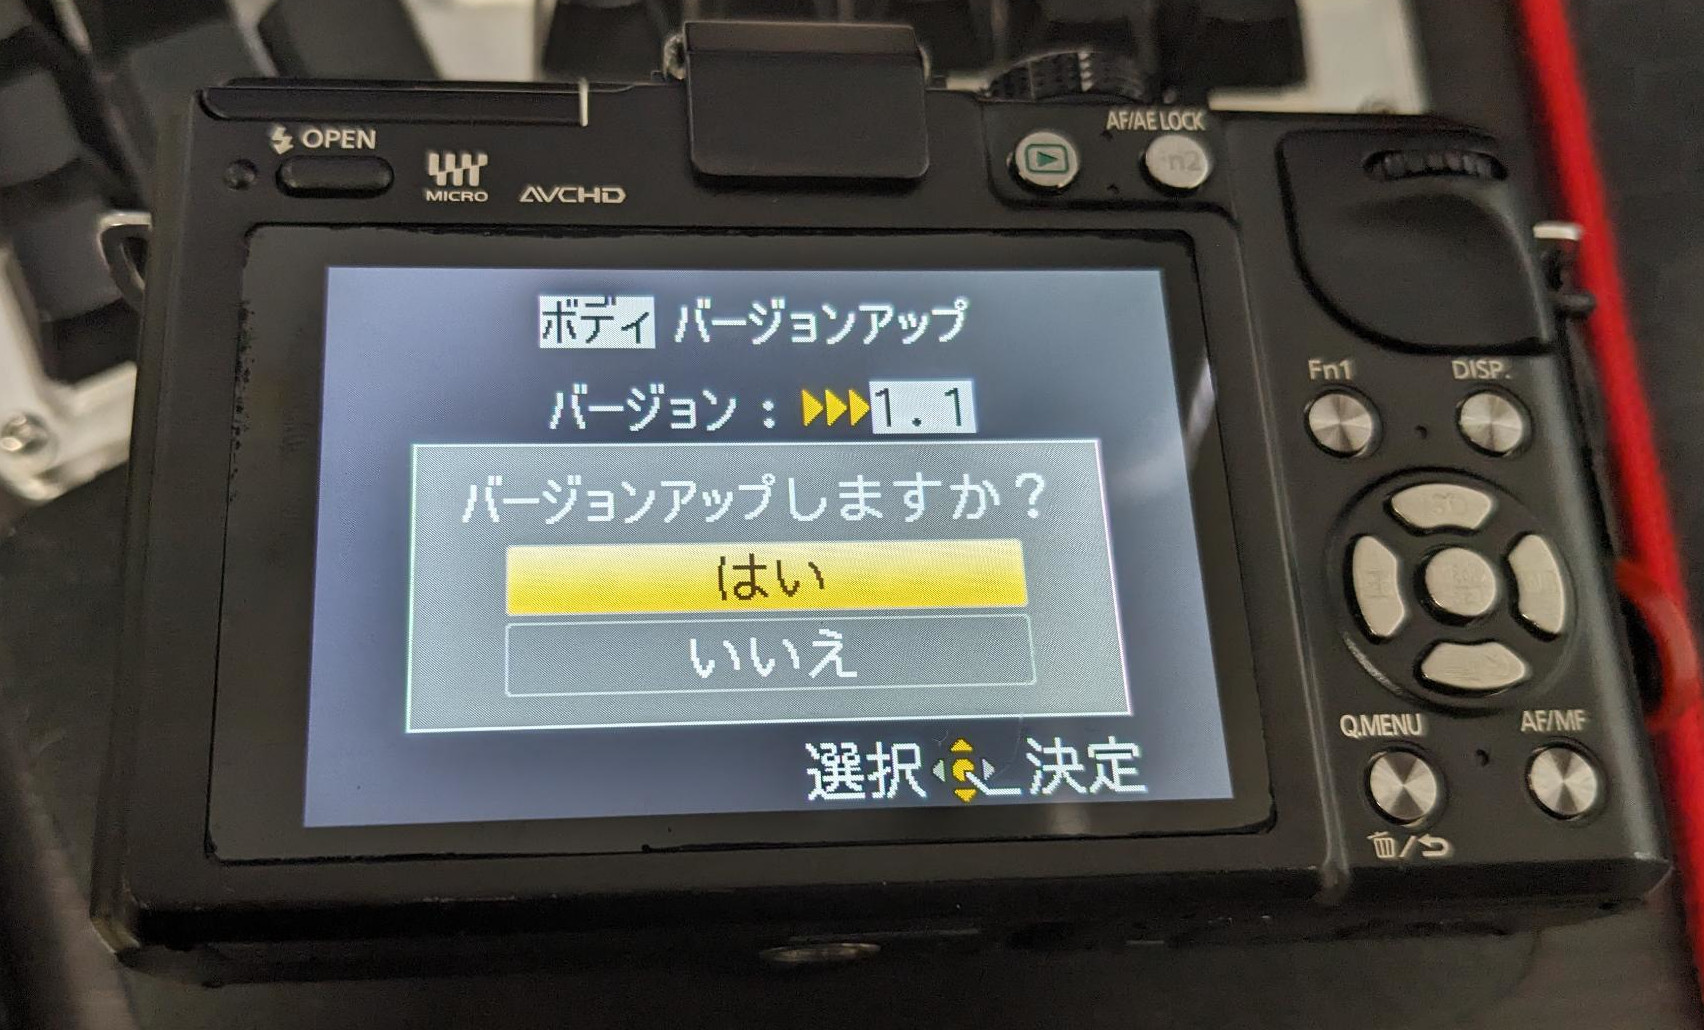
Note that it's telling you the camera will be upgraded to version 1.1 even though you're already on 1.1. And after the upgrade succeeds it'll still say 1.1. Unintuitive, but it works.
By default the cancel option is selected. Choose the other option with the direction pad and click the center OK button.
Once you do that the upgrade process will kickoff:
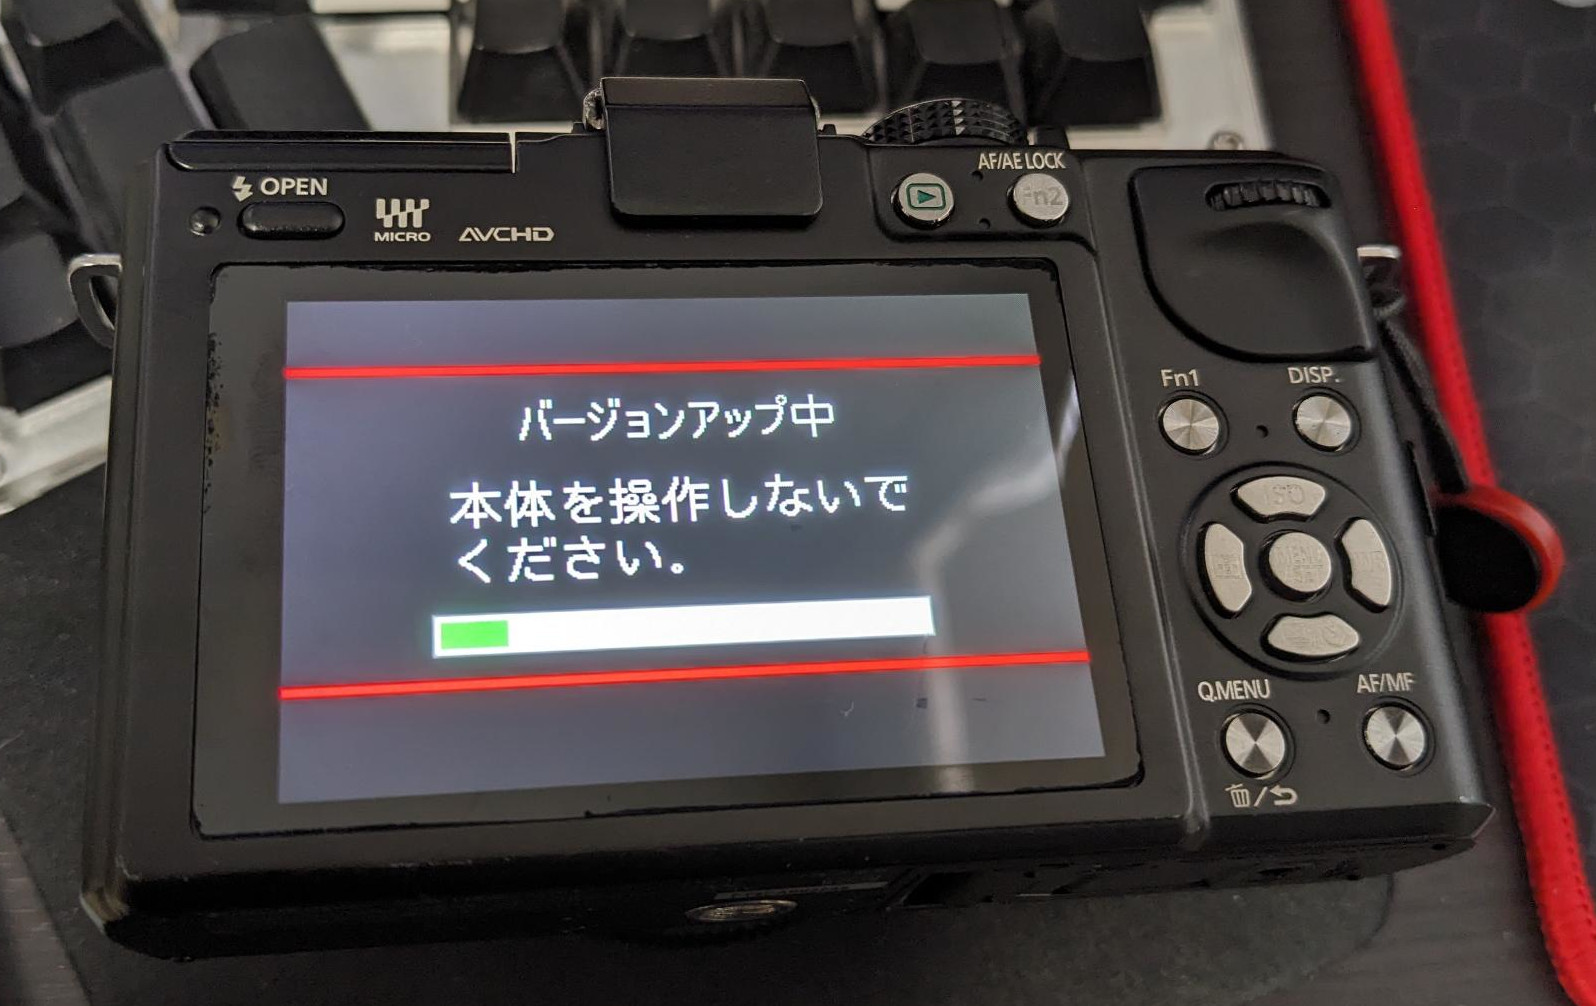
That screen will display for a few minutes until it completes. Make sure that you don't interrupt the power at this point or you might brick the camera. In fact, don't touch any buttons at all, just gently set it down.
Once the install completes the screen will flash black for a moment and you should be returned to the take photo screen.
Enable English
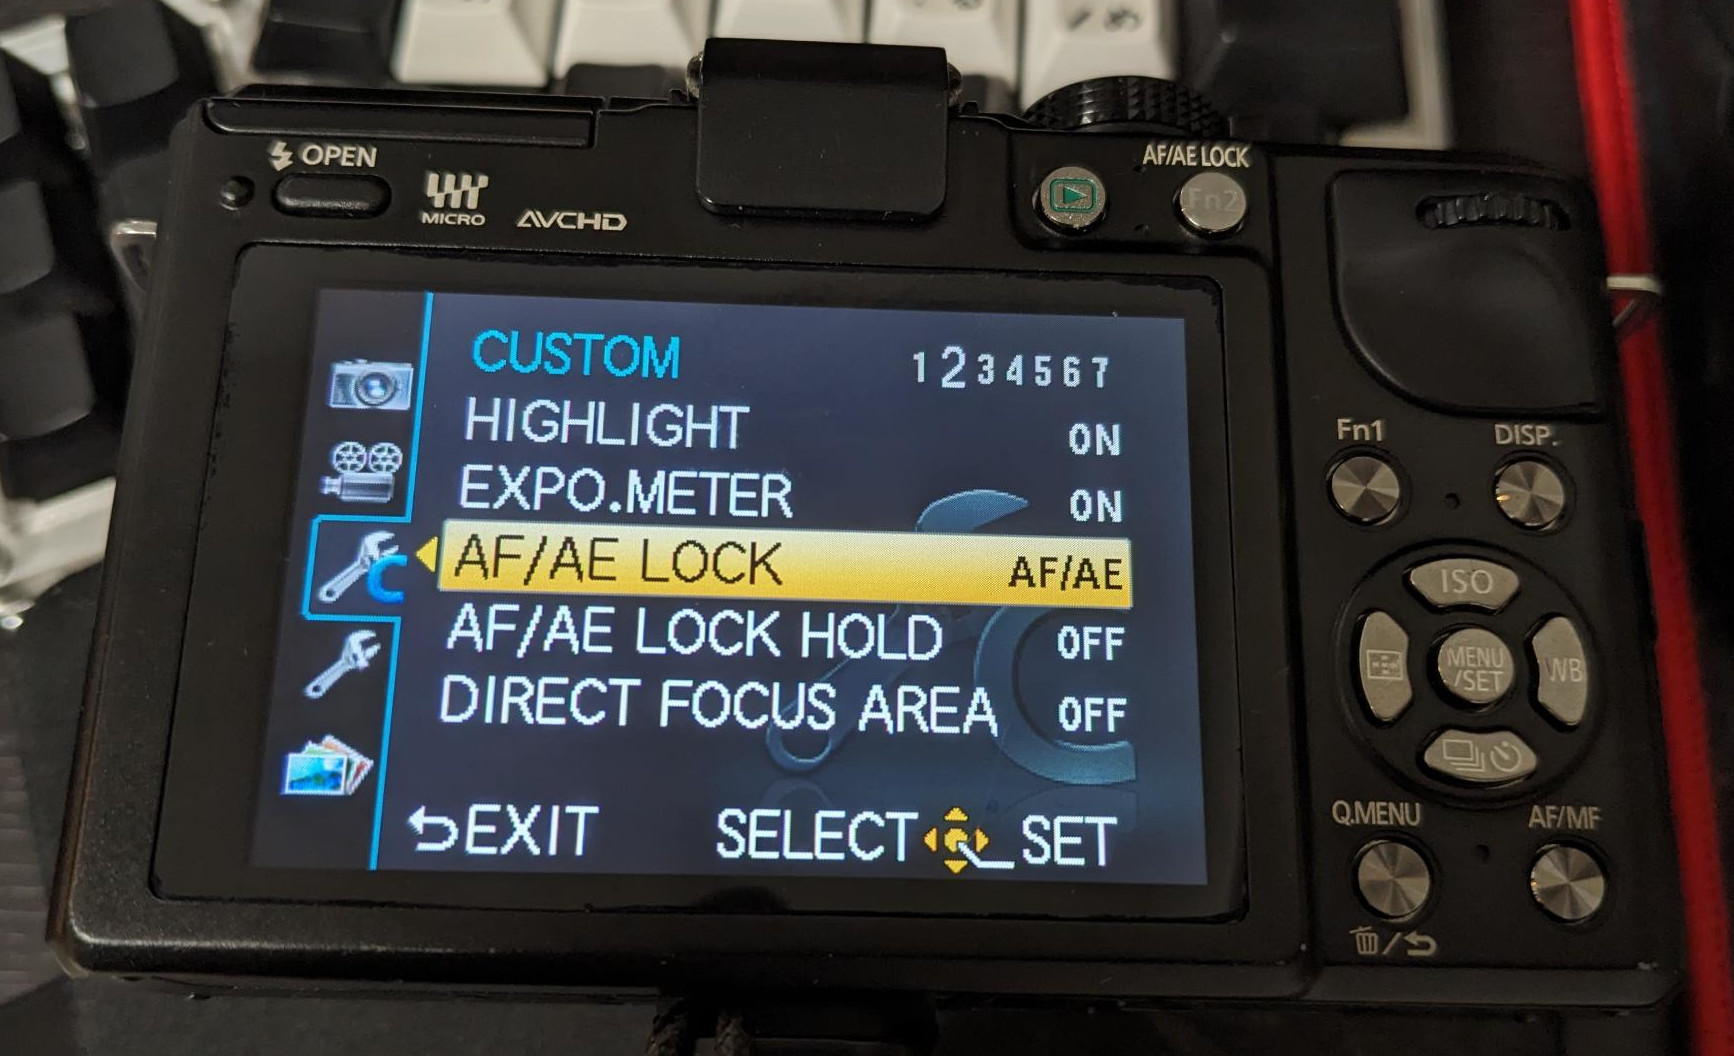
At this point the menu is still in Japanese. In fact there's no indication that anything happened. At this point I thought it failed and reinstalled the firmware two more times. All you need to do at this point is navigate to the language menu option and change it to English (or your language of choice).
Press the center OK / menu button. Next, press left to select the outermost menu tabs. Press the down arrow until you've selected the second wrench icon. Press right to enter the config menus. Press down to scroll through menu items and once you reach the end of the first page you'll be taken to the next page of settings for the tab. Keep pressing down until you reach page 4. Select the 2nd menu option, which represents language, and press OK. You may now choose a language. It's confusing because only Japanese is visible. Press down to go to the first page of languages which highlights English (or scroll to the language you want). Press OK to enable the language.
Enjoy the English Menus
Congratulations! Your camera has now been updated to be in English (or at least not Japanese) and you've saved yourself a bit of money.
For what it's worth, I think that the firmware version number you provide to PTool is used to determine if you'll be prompted to do an update. For example, if you want to change any more settings in the firmware, you might need to ensure that the new version number is larger than the last number you tried. So, if you changed the number from 1 to 2 and installed the firmware, for the next change you'll need to set the version to at least 3. Don't quote me on that.
Here's some further reading:
Thomas has contributed to dozens of enterprise Node.js services and has worked for a company dedicated to securing Node.js. He has spoken at several conferences on Node.js and JavaScript and is an O'Reilly published author.