PS2 RPI4 Part II: Internals
Support this website by purchasing prints of my photographs! Check them out here.Continuing from my previous overview post “PlayStation 2 Raspberry Pi Restoration”, I've now completely disassembled the PlayStation 2. So far I haven't performed any destructive actions and it can still be reassembled, not that I have any plans to.
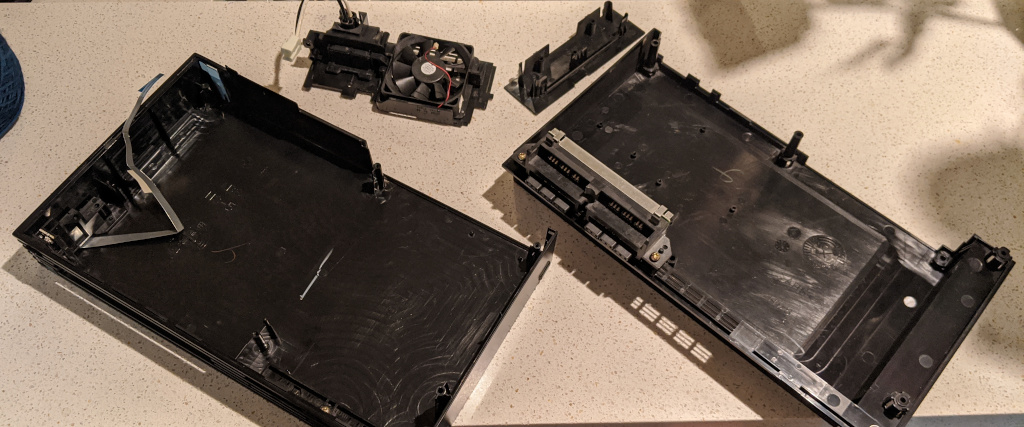
For the most part the PS2 disassembles pretty easily. Basically, the PS2 is made up of an outer plastic shell, an inner metal frame, a motherboard, a power supply board, and an optical disk drive.
Some parts will definitely be kept, such as the shell and anything external facing. Other parts will definitely go, like the motherboard and the optical drive. Some parts I still have to figure out, like the metal frame and the power supply board.
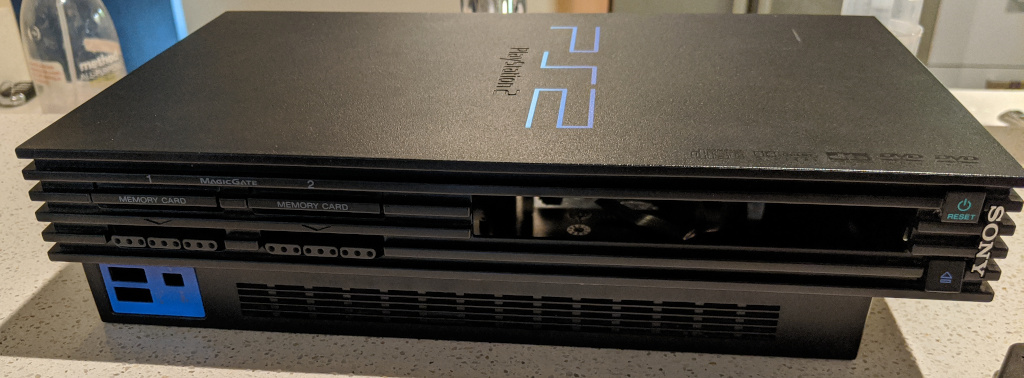
Front Ports
The PS2 controller and memory card slots are combined into a single component. The latches for the memory card doors are part of the outer shell and don't require any modifications. The memory card and controller component have a single ribbon cable attached to them. For now, I'll just leave the component as-is, and later worry about possibly wiring it up. The memory card flaps would make for some great hidden ports.
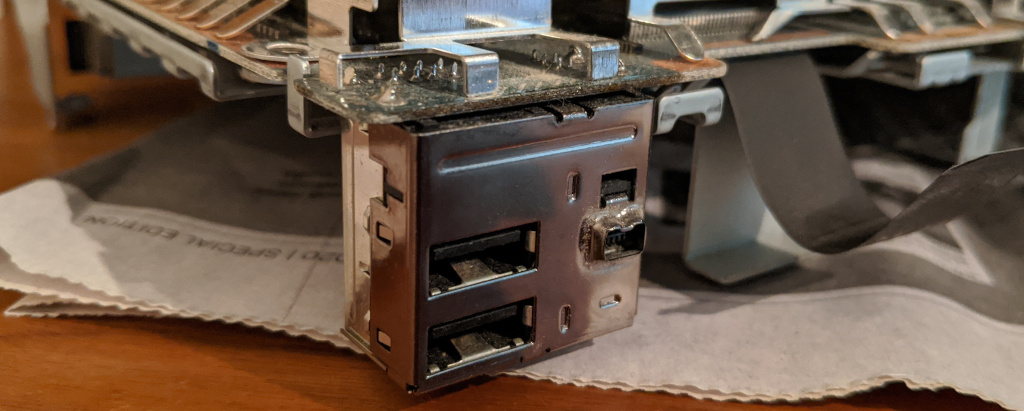
There's an important screw standoff immediately behind the USB shell holes that will make it very difficult to attach new USB 3 female ports to. I think I'm going to butcher the motherboard to keep the existing USB 2 ports, solder in new wiring, and keep enough of the board to include one or two screw holes. On the bright side the ports will line up perfectly and should be sturdy. On the negative side I'll definitely have to slaughter the motherboard and there won't be USB 3 support.
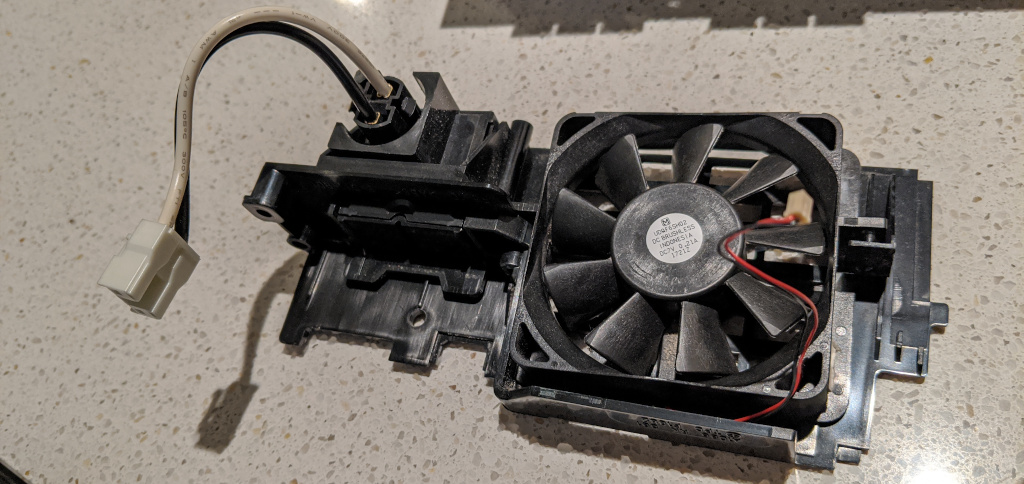
Back Power and Fan
The power and fan exist as a single panel. The fan slides out and can be replaced. The power switch and power cord are connected internally and only expose two wires, which is perfect, otherwise I could have imagined both being attached directly to the motherboard. The fan is powered by 7v, which is a little unfortunate since everything will be using 5v via USB. Hopefully it'll work with lower voltage.
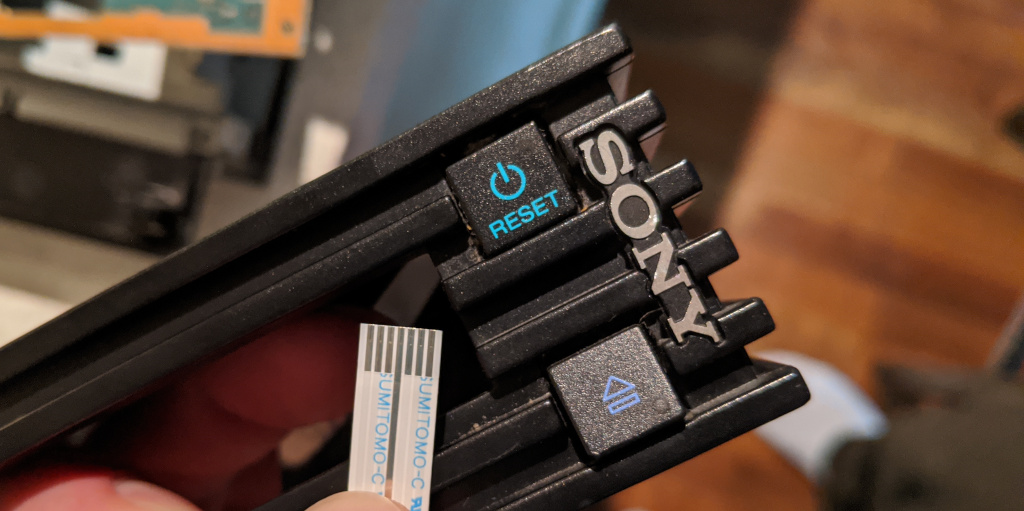
Front Buttons and Power LED
The Power and Eject buttons and Power LED are bundled together in a single component which is attached to the shell. This is convenient—if it were attached to the optical drive, for example, it would be difficult to isolate. One slight difficulty is that the component exposes a ribbon cable, which may be a little hard to solder.
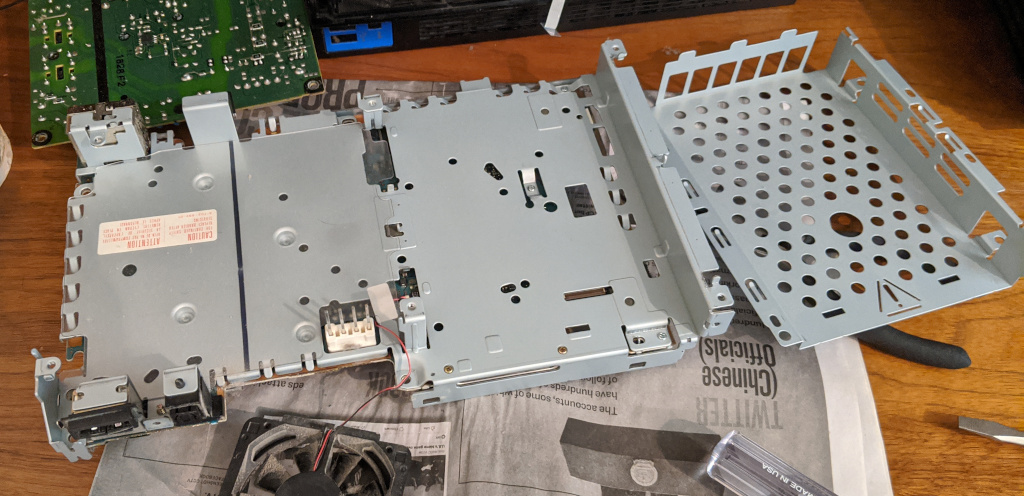
Frame Concerns
Perhaps the biggest conundrum is whether or not to keep the frame. Having it adds a nice amount of weight, makes the whole thing feel sturdier, and helps keep the back “Expansion Bay” panel in place. But, removing it makes it a lot easier to position things and feed wires throughout the enclosure.
The frame divides the internals of the PS2 into three sections. First is the top section, which is the largest and is where the original heatsinks and optical drive sat. Below, stage left, is the expansion bay. Stage right is where the power supply went. It makes the most sense to put the Raspberry Pi and any other components in the top section.
If I do keep the frame, then I might as well keep the power supply, since it won't be taking up space from the Raspberry Pi. That said, it'll be a whole lot easier, and even cheaper, to replace the power supply board with some wall transformers.
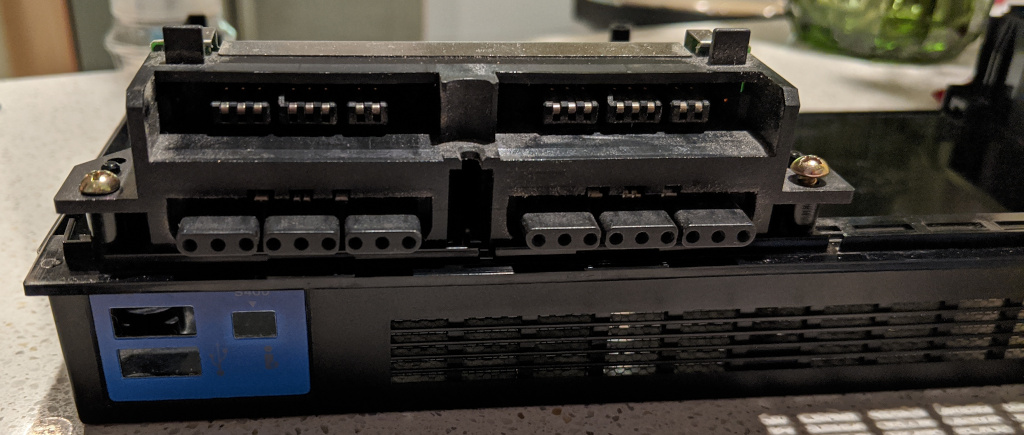
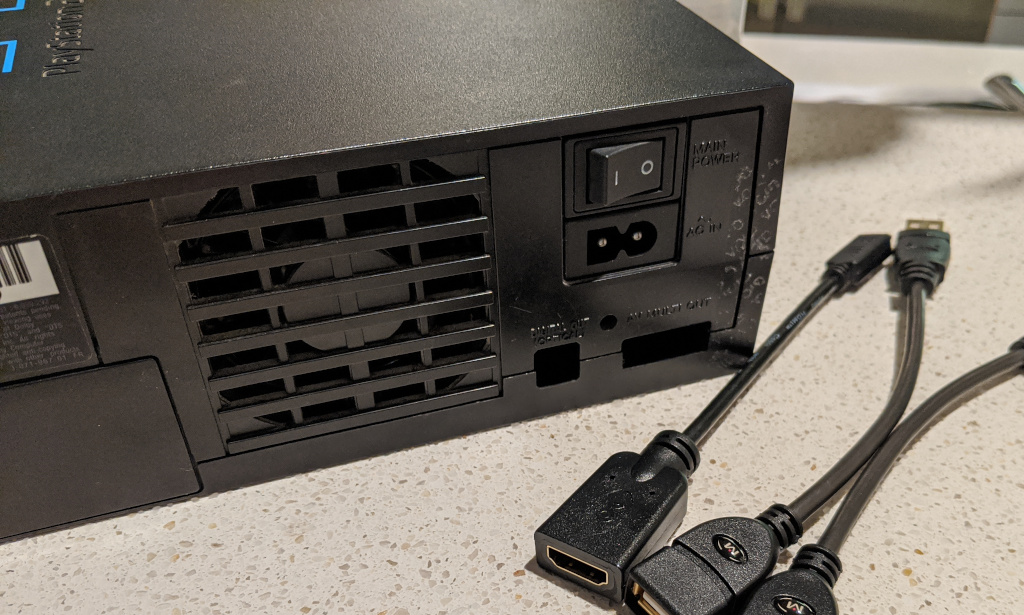
Rear Ports
The HDMI port might be a little difficult to wire up. The fan/power panel slides apart with the Optical and AV ports sitting between panels. I might be able to hack up and glue the HDMI port to the bottom of the shell, and continue to allow the fan/power panel to be removable. But, I still need a way to anchor in the HDMI port so that it doesn't break when a massive HDMI cord is forced in.
For the Optical port, I could desolder the existing hinged port from the motherboard to fill in the hole and keep the original look. But, I really want a 3.5mm audio jack for audio, since the PS2 would make a good stereo system, so I might just glue in an audio jack in the same manner as the HDMI port.
Optical Drive Door
The optical drive door can be cleanly removed from the optical drive by slightly prying apart the corners. I was able to remove it but didn't snag a photo. For that piece I'll find a way to line it up perfectly and glue it in to the hole in the shell. There are small gaps between the door and the shell though so I'll have to find some black plastic to put behind it.
One of the difficult things with these kinds of projects is getting new components to line up with existing holes. Devices like the PlayStation 2 usually come with a single motherboard, which has ports in all the right places. Plugging a cable into the port is usually pretty safe because everything is soldered and screwed into place. When ripping all that out and adding new ports there's a risk things won't be sturdy. Ports that are hot-glued in will eventually get pushed to hard and break.
Ideally, I'll never have to disassemble this again once it's complete. Time will tell!
Thomas has contributed to dozens of enterprise Node.js services and has worked for a company dedicated to securing Node.js. He has spoken at several conferences on Node.js and JavaScript and is an O'Reilly published author.